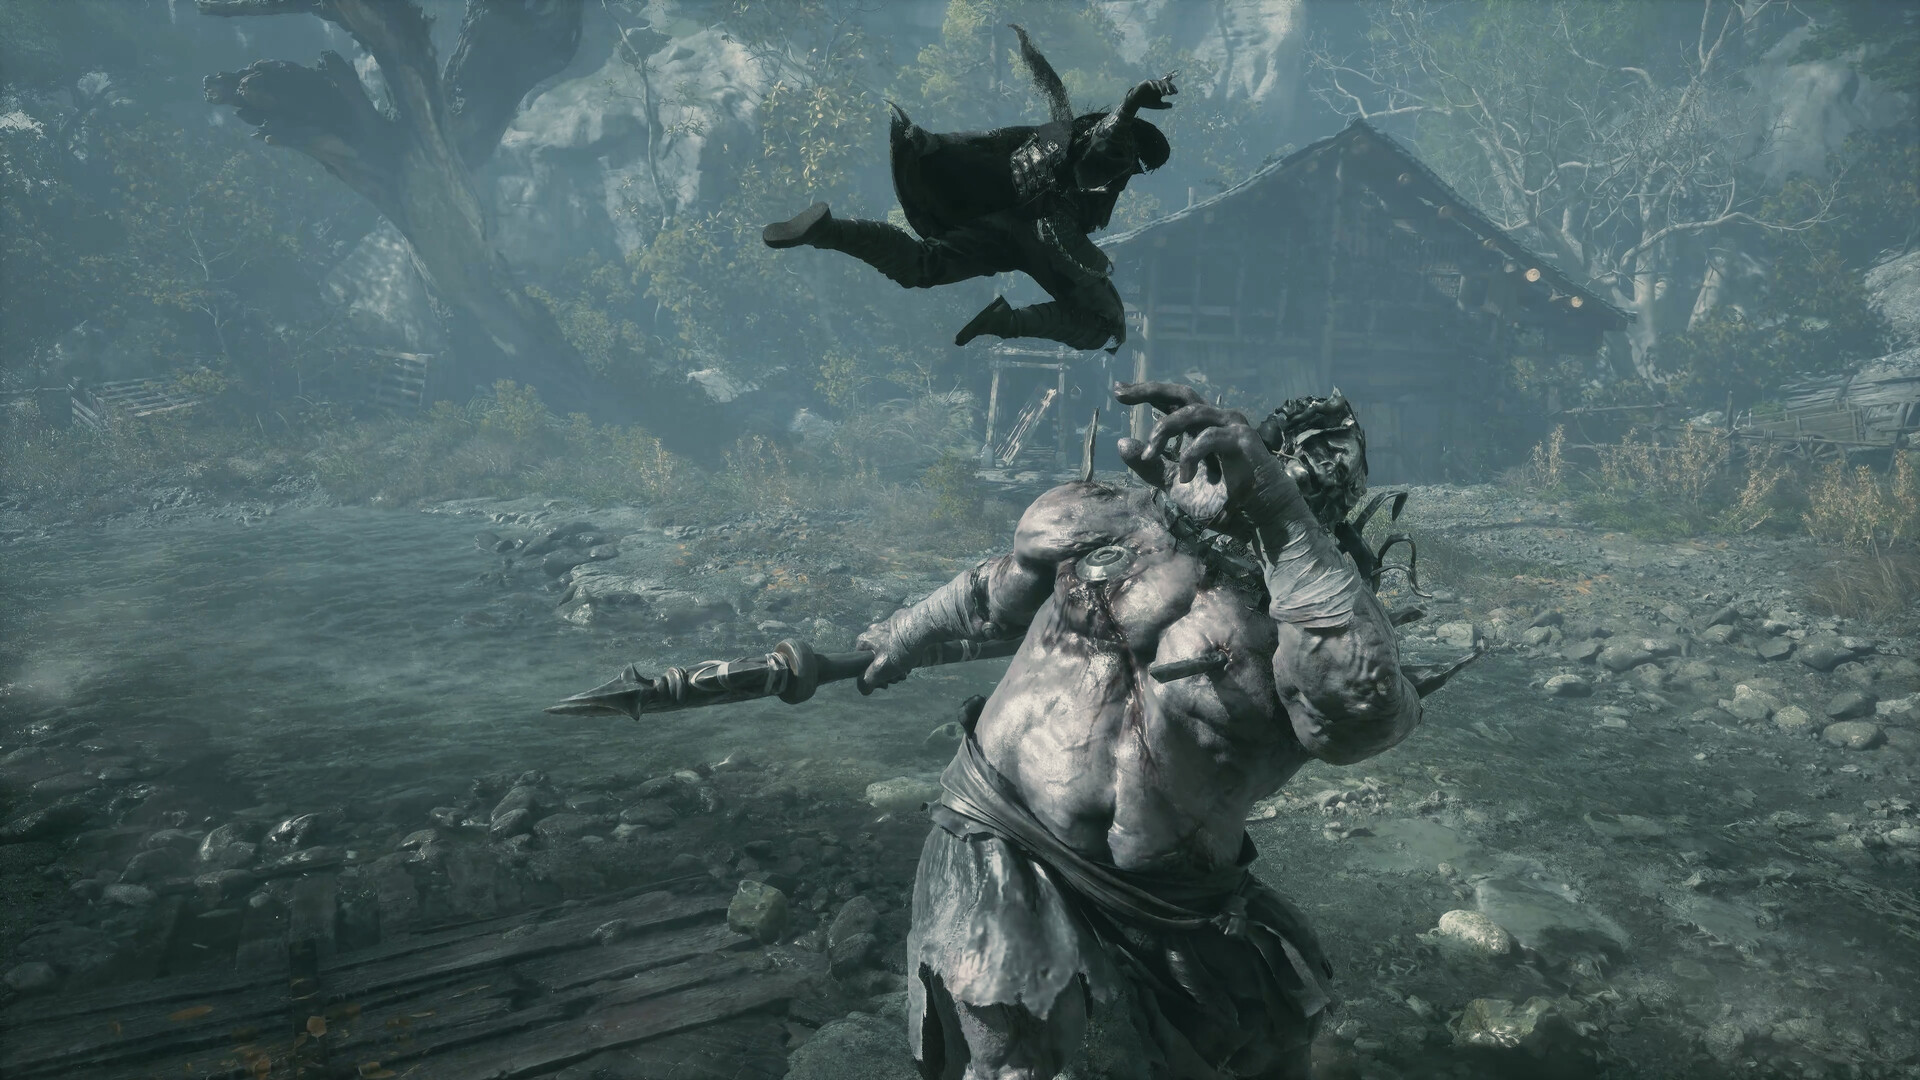
Whether you are cutting down patrol squads in the rainy streets of the Phantom World or facing multi-phase automaton terrors, having a sharp tactical edge separates the living from the dead.
Here are the top 12 essential combat tips and hidden gameplay mechanics every player should know when playing Phantom Blade Zero.
1. Cancel Heavy Recovery with Weapon Swaps
The biggest vulnerability in high-damage greatsword play is the long recovery animation following a downward cleave. Instead of waiting for Soul to reset his stance, hit the Weapon Swap trigger immediately upon blade contact. Soul will smoothly transition into a swift dual-blade upward slash, keeping the pressure on the target while eliminating all vulnerable downtime.
2. Master the Forward-Left Ghost Step
When an enemy flashes a red danger spark, the instinctive reaction for many players is to dodge backward. This is a fatal mistake: many red attacks have tracking thrusts or extended forward hitboxes. Instead, execute a Ghost Step forward and slightly to the left. You will phase through the attack's hitbox and emerge directly behind the adversary, granting you a free window for high-damage back-cleaves.
For deeper insights into recognizing attack cues, review our Phantom Blade Zero Parry Guide.
| Priority | Strategy / Tactic | Core Advantage |
|---|---|---|
| P0 | Forward-Left Ghost Step | Bypasses unblockable hitboxes and provides free rear execution opportunities |
| P0 | Recovery Canceling | Eliminates vulnerable frames after heavy greatsword or polearm finishers |
| P1 | Tiger Cannon Interrupts | Staggers charging elite foes and interrupts deadly boss sequences |
| P1 | Aerial Wall Rebounds | Unlocks high-angle plunging critical strikes on unaware ground patrols |
| P2 | Prioritizing Ranged Snipers | Neutralizes crossbow snipers before engaging armored melee commanders |
3. Use the Tiger Cannon to Interrupt Boss Charges
Certain bosses—such as Commander Huang—attempt devastating cross-arena charging maneuvers. While these moves deal tremendous damage if they connect, firing your Tiger Cannon Phantom Edge directly at the boss during their wind-up acts as an explosive counter, knocking them off-balance and stopping the charge in its tracks.
4. Eliminate Crossbow Snipers Before Engaging Melee Foes
In multi-enemy encampments, crossbow snipers and flame-thrower grunts are strategically positioned on rooftops and wooden scaffolding. Always prioritize grappling up to these vantage points first. Taking out ranged snipers takes mere seconds and prevents irritating projectile interruptions while you focus on parrying armored front-line commanders.
5. Listen to Metallic Audio Cues
Visual sparks are easy to lose track of when multiple blades and particle effects fill the screen. S-GAME's audio team crafted unique, crisp metallic audio chimes that play roughly 150 milliseconds before an enemy swing lands. Training your ears to react to these sound cues will dramatically elevate your deflection consistency.
If you are just getting started with combat pacing, check out our Phantom Blade Zero Beginner Guide.
6. Exploit Aerial Wall Runs for Surprise Decapitations
Urban environments in the Phantom World feature intricate alleyways and vertical architecture. Sprinting toward a wall allows Soul to initiate a vertical run, vaulting backward off the wall into a heavy descending dive. Landing a diving blow on unaware patrol leaders inflicts massive posture damage and frequently triggers an instant execution prompt.
7. Pair Fast Weapons with High-Poise Secondaries
Do not equip two weapons that serve the identical functional niche (such as two types of agile daggers). The optimal loadout pairs one high-speed weapon (like Dual Sabers) for clearing fodder and building combo count, alongside one crushing heavy weapon (like an Executioner Greatsword) for staggering armored automatons and tearing down boss poise bars.
Dive into the full combat systems breakdown in our Phantom Blade Zero Combat Guide.
8. Exploit Environmental Hazards and Fire Barrels
Many enemy camps are packed with explosive black-powder urns, bamboo spike traps, and fragile rope bridges. A well-placed flame shot from your prosthetic or a kicked barrel can wipe out an entire squad of junior assassins without expending a single medicine flask.
9. Never Let the Enemy Poise Bar Rest
Enemy posture recovery begins after roughly two to three seconds without taking damage. If a boss dashes across the arena or jumps back, do not stand still:
- Tap your ranged throwing daggers or fire a quick prosthetic shot to reset their recovery timer.
- Close the distance with a sprinting slide strike to keep the poise pressure active.
10. Upgrade Flask Pouch Capacity at Occult Hermit Shrines
As you explore side passages, look for green incense burners marking hermit shrines. Gathering rare mechanical gears and spiritual lotus roots lets you permanently increase the number of healing draughts Soul can carry from 3 to 6 and beyond.
11. Practice Blind-Side Parrying Against Group Attacks
When fighting two assassins at once, lock onto the primary threat but angle Soul's body so that incoming strikes from the off-target hit Soul's front quadrant. Deflecting the primary target's blow will also create an area-of-effect shockwave that deflects adjacent simultaneous strikes.
12. Conserve Ammo for Boss Enrage Phases
Phantom Edge munitions are finite. While it can be tempting to blast through standard enemies with the Tiger Cannon, save your heavy ordnance for the final 30% enrage phase of major boss encounters, when bosses become hyper-aggressive and direct melee windows narrow significantly.
Pro Tip: When entering an unfamiliar boss arena, spend the first attempt exclusively observing attack rhythms and spark colors without attacking. Once you have mapped the boss's deflectable blue strings and unblockable red thrusts, defeating them on attempt two becomes straightforward.